Check In command allows the user to add the files for the first time into the Vault server and to check in a file that the user has checked out.
1. Open the file you want to check into the vault.
2. Select Check In from Vault Ribbon.

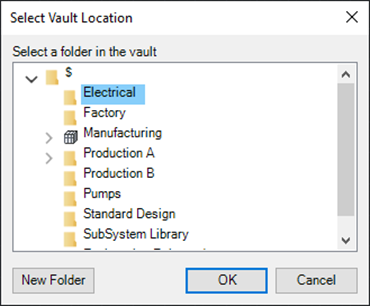
3. Select Vault Location dialog prompts.
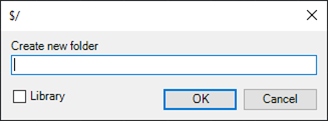
Select any existing Vault Folder or create New Folder in Vault by clicking new folder.
Note:
The comments for each Revision scheme and format can also be added or modified from the Autodesk Vault client.
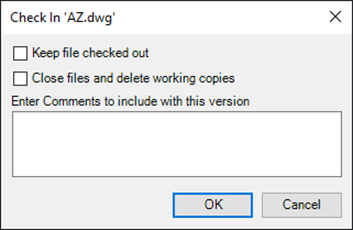
4. If the file, you are checking in is checked out from Vault then the direct Check-in dialog displays.
In the Check In dialog box, specify:
Keep the files checked out after you check them into the vault. You can check in your changes so that others can get your latest changes and continue to work on the files
Select this option to delete the local copy of the file once it is checked into the vault. If there are restrictions on a file that prevents it from being deleted, you are notified that the file cannot be deleted. Deleting working copies ensures no version conflicts later but requires a new download when you check the file out again, even if no changes were made to it.
Note:
Do not turn on Close files and delete working copies when checking in files if you are using a shared working folder. Deleting the working copy from a shared working folder may delete files accessed by other users.
5. Enter any notes in the comment box.
6. Click OK to complete the check-in and close the dialog box or click Cancel to cancel the check into the vault operation and close the dialog box.